In this post
- At a Glance
- Why This Project Works and What You Will Learn
- Materials and Tools Needed
- Choosing the Right Fabric for Your Scrunchie
- Cutting Chart and Preparation
- Step-by-Step Instructions on How to Sew a Scrunchie
- Variations and Customizing
- Troubleshooting Common Scrunchie Sewing Issues
- Care and Washing
- Frequently Asked Questions
- Final Thoughts on Crafting Your Scrunchie
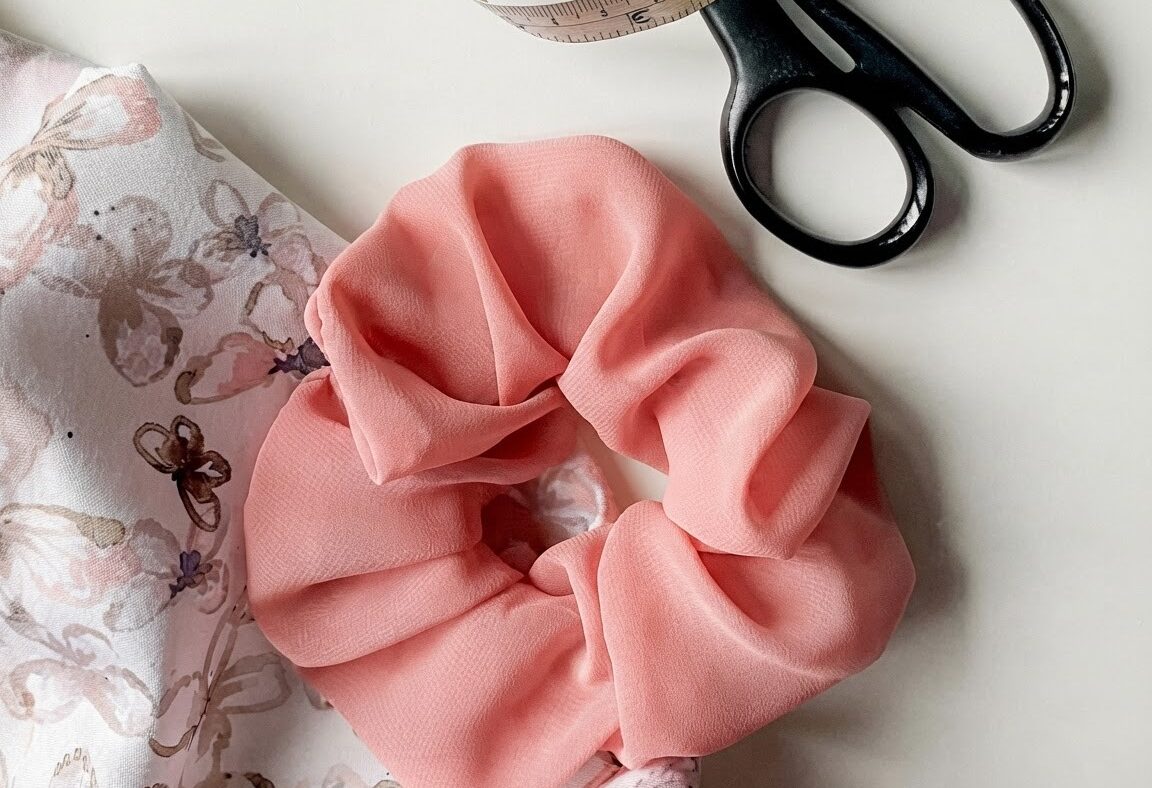
Learning how to sew a scrunchie is one of the most practical and satisfying projects for anyone new to machine stitching. In this beginner guide, you will learn how to make a classic gathered hair accessory in just 15-20 minutes using small fabric cuts and standard braided elastic. This quick accessory features an enclosed seam with no exposed raw edges and gives you hands-on practice with fundamental machine skills.
Scrunchies are a practical way to use up leftover fabric scraps while mastering straight stitching, edge alignment, and elastic insertion. The finished accessory measures width 4.5 in, length 4.5 in, circumference 14.1 in, featuring a soft 1.5 in (3.8 cm) inner opening that holds hair securely. Follow along below to turn a simple strip of cotton into an everyday accessory.
At a Glance
Before cutting into your fabric, review the core project specifications and time requirements outlined below.
| Project Type | Hair accessory / Scrunchie |
|---|---|
| Skill Level | Beginner |
| Time Required | 15-20 minutes |
| Finished Dimensions | width 4.5 in, length 4.5 in, circumference 14.1 in |
| Main Fabric | Lightweight 100% cotton (0.25 yd / 0.23 m) |
| Core Techniques | Stitching a fabric tube, elastic threading, enclosed edge topstitching |
Why This Project Works and What You Will Learn
Small accessory projects give you immediate feedback on fundamental sewing techniques without requiring yards of material or complex pattern adjustments. When you work through this project, you practice maintaining a consistent 0.25 in (6 mm) seam allowance across a long edge, which is essential for accurate garment and home decor construction.
You will also master the technique of turning a narrow fabric tube right side out, pressing seams flat for a clean finish, and threading elastic under tension. Joining the fabric ends into a continuous circle with enclosed raw edges teaches you how to finish accessories cleanly without visible seam allowances.
Materials and Tools Needed
Having the correct sewing tools ready ensures crisp seams and smooth elastic threading from start to finish.
- 0.25 yd (0.23 m) pastel pink lightweight 100% cotton fabric (44 in / 112 cm wide)
- 8 in (20 cm) of 1/4 in (6 mm) wide braided elastic
- Pastel pink all-purpose polyester sewing thread
- Sewing machine with size 70/10 or 80/12 universal needle
- Fabric shears / rotary cutter and cutting mat
- Safety pin or elastic bodkin
- Sewing pins or fabric clips
- Measuring tape or clear acrylic ruler
- Iron and ironing board
- Scissors
Choosing the Right Fabric for Your Scrunchie
Fabric weight directly influences how your scrunchie gathers and holds its shape around an elastic band. Lightweight woven fabrics such as lightweight cotton, quilting cotton, silk, satin, and chiffon gather smoothly without creating bulky, stiff folds at the inner seam.
Avoid heavy canvas, thick denim, or stiff home decor fabrics for this project. Thick textiles create excessive bulk when gathered along an 8 in (20 cm) piece of elastic, making the tube difficult to turn right side out and nearly impossible to topstitch flat at the closure.
Pro tip: If you choose slippery fabrics like satin or chiffon, pin every 2 inches along the long raw edge to prevent the layers from shifting out of alignment as you feed them under the presser foot.
Cutting Chart and Preparation
Accurate cutting provides straight, parallel edges that align cleanly when folded, ensuring your fabric casing remains uniform across its entire length.
| Piece Name | Material | Quantity | Cut Dimensions |
|---|---|---|---|
| Main strip | Lightweight 100% cotton | 1 | 20 x 4 in (51 x 10 cm) |
| Elastic band | 1/4 in (6 mm) braided elastic | 1 | 8 in (20 cm) length |
Always press your fabric strip flat with a hot iron before you begin sewing. Removing wrinkles prior to cutting ensures your strip stays true to the 20 x 4 in (51 x 10 cm) dimensions and prevents uneven seam allowances.
Step-by-Step Instructions on How to Sew a Scrunchie
Follow the precise step-by-step construction instructions below to stitch your fabric tube, insert the elastic, and neatly close the opening.
Finished size: 4.5 in (11.4 cm) outer diameter, 1.5 in (3.8 cm) inner opening diameter
Sizing
| Size | Outer Diameter | Inner Opening | Cut Fabric Size | Elastic Length |
|---|---|---|---|---|
| One Size | 4.5 in (11.4 cm) | 1.5 in (3.8 cm) | 4 x 20 in (10 x 51 cm) | 8 in (20 cm) |
Cutting Chart
| Piece | Cut | Fabric | Size (W x H) |
|---|---|---|---|
| Main strip | 1 | main | 20 in (50.8 cm) x 4 in (10.2 cm) |
Seam allowance: 0.25 in (0.6 cm) unless a step says otherwise. All measurements include seam allowance.
Pattern Notes
- All seam allowances are 1/4 in (6 mm) unless otherwise noted.
- Use a standard straight stitch (stitch length 2.5 mm) for sewing the fabric tube.
- Use a multi-stitch zigzag or standard zigzag stitch (width 3.0 mm, length 1.5 mm) to securely join the elastic ends.
- Press seams flat after stitching to ensure crisp edges and clean turning.
- Backstitch 3 stitches at the start and end of each seam to lock threads securely.
Scrunchie Construction
- Cut one fabric strip measuring 4 in (10 cm) high by 20 in (51 cm) wide from the pastel pink main fabric.
- Cut one piece of 1/4 in (6 mm) wide braided elastic to 8 in (20 cm) in length.
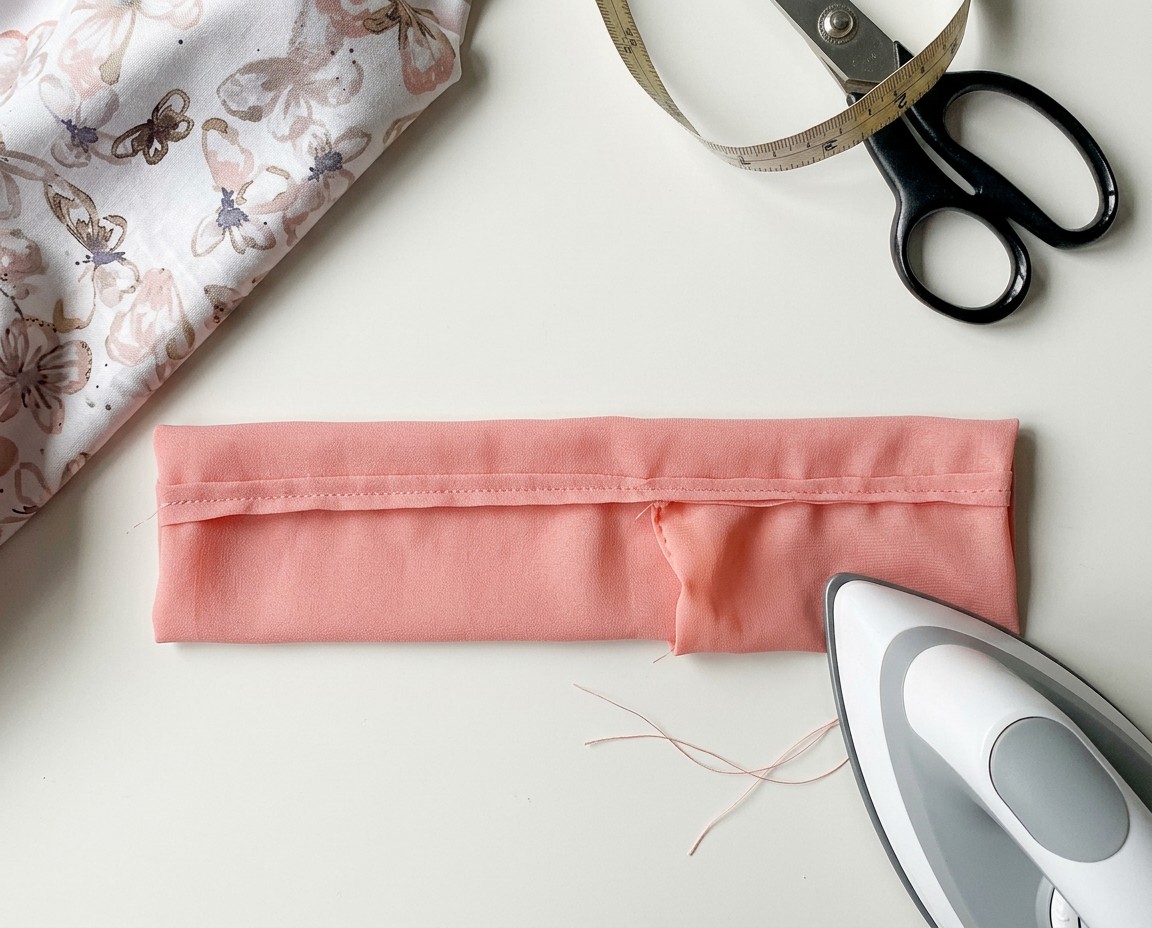
- Fold the fabric strip in half lengthwise with right sides facing and raw edges aligned, creating a long folded strip measuring 2 in (5 cm) by 20 in (51 cm). Pin or clip along the long raw edge.
- Stitch along the long raw edge using a 1/4 in (6 mm) seam allowance, backstitching at both ends. Leave both short ends completely open to create a fabric tube.
- Attach a safety pin or bodkin to one open end of the fabric tube, feed it through the inside of the tube, and pull the fabric right side out (1 sts)
- Press the tube flat with an iron, shifting the long seam so it sits centered along one flat side or aligned with one folded edge (1 sts)
- Attach a safety pin to one end of the 8 in (20 cm) elastic. Pin the trailing end of the elastic to the entry opening of the fabric tube to prevent it from slipping inside. Guide the leading safety pin completely through the fabric casing until it emerges from the opposite open end (1 sts)
- Overlap the two elastic ends by 1/2 in (1.3 cm), ensuring the elastic is not twisted inside the casing. Securely stitch across the overlapped ends with a tight zigzag stitch (back and forth 3 times) to form a 7.5 in (19 cm) circumference loop.
- Release the elastic into the fabric tube and slide the fabric along the elastic ring by stretching and releasing the loop until gathers are spread across the entire 7.5 in (19 cm) circumference.
- Fold the raw edge of one tube end inward by 1/4 in (6 mm) toward the wrong side, pressing or finger-pressing the fold. Insert the un-folded raw end of the tube 1/2 in (1.3 cm) inside the folded end to cleanly encase all raw edges.
- Pin the overlapping ends in place. Topstitch across the folded seam 1/8 in (3 mm) from the edge, backstitching at the start and finish to permanently close the tube and secure the circle.
Finishing
- Trim all loose thread tails close to the fabric surface.
- Slide the gathered fabric along the elastic ring until ruffles are spread across the full 7.5 in (19 cm) inner circumference.
- Give the finished scrunchie a light steam press around the perimeter folds if needed.
Variations and Customizing
The construction method used here works across various woven fabrics without altering the underlying assembly steps.
- Satin Finish: Use lightweight polyester or silk satin cut to the same 20 x 4 in (51 x 10 cm) strip for a smooth, glossy surface.
- Chiffon Sheers: Construct the casing from lightweight chiffon, using a sharp 70/10 universal needle to prevent snagging delicate woven threads.
- Print Mixing: Use delicate floral or pastel cotton prints cut to the standard pattern dimensions to coordinate with different outfits.
- Alternative Sizes: Note that dimensions and elastic lengths for skinny or oversized variations are not covered by this specific pattern.
Troubleshooting Common Scrunchie Sewing Issues
| Problem | Likely Cause | Solution |
|---|---|---|
| Elastic twists inside tube | Elastic rolled over during threading or joining | Lay elastic flat before overlapping ends; pin both ends flat before zigzag stitching. |
| Raw edges visible at outer join | Fabric slipped out from the 1/4 in (6 mm) inner fold | Unpick the topstitching, re-fold the outer edge inward by 1/4 in (6 mm), re-insert raw end 1/2 in (1.3 cm), pin securely, and re-stitch. |
| Puckered tube seam | Machine tension too tight or pulling fabric while stitching | Adjust machine tension to standard (approx. 4) and guide the fabric gently without stretching. |
| Broken needle on closure | Needle struck the thick elastic join during topstitching | Position the topstitched closure away from the overlapped elastic zigzag joint. |
Care and Washing
Proper cleaning protects the elasticity of the internal braided core and keeps the lightweight cotton fabric looking vibrant over time.
Machine wash cool on gentle cycle in a mesh laundry bag, reshape gathers, and lay flat to dry.
Frequently Asked Questions
Can I use hand sewing instead of a sewing machine to make a scrunchie?
Yes, you can hand sew the long tube seam using a small, tight backstitch with a standard hand sewing needle and polyester thread. Sew the overlapped elastic ends securely with repeated cross-stitches before closing the final tube overlap with a neat slip stitch.
What is the best type of elastic for hair scrunchies?
A 1/4 in (6 mm) wide braided elastic is suitable because it retains its stretch recovery when pulled through narrow casings. Avoid clear elastic or ribbed knit elastic, which can roll or stretch out permanently when stitched with a heavy zigzag pattern.
Why does my scrunchie look flat or lack volume?
A flat scrunchie usually happens if the fabric strip is cut too short or the elastic is cut too long. Using a full 20 in (51 cm) fabric length gathered over an 8 in (20 cm) piece of elastic ensures full ruffles and dense gathers around the entire circumference.
How much fabric do I need to make multiple scrunchies?
A standard 0.25 yd (0.23 m) cut of 44 in (112 cm) wide fabric yields two 20 x 4 in (51 x 10 cm) strips with a small scrap remainder. For each additional scrunchie, you will also need an 8 in (20 cm) length of 1/4 in (6 mm) braided elastic.
Final Thoughts on Crafting Your Scrunchie
Mastering how to sew a scrunchie gives you a reliable, fast project you can complete in under 20 minutes from cutting mat to finished accessory. Taking the time to press your casing flat and carefully encasing the raw edge overlap produces a clean, finished appearance. Keep a few pre-cut strips and elastic lengths by your sewing machine so you can quickly stitch up fresh accessories whenever you have leftover cotton yardage.